
Overview
This guide explains the process of importing DNS records into the system. Importing DNS records allows you to quickly add or update multiple entries in bulk, instead of manually creating them one by one.
The process supports different file formats (such as CSV/zone file), and can be performed by both Administrators (for managing all domains on the server) and End-users (for managing their own domains but with limited records).
Procedure
Follow these steps to successfully import DNS records:
Step 1. Prepare the file
Before importing, you must prepare your CSV file in the correct format.
Each row in the CSV represents one DNS record, and the columns must appear in the following order:
- Examples by Record Type (CSV)
A record - example.com,www,14400,IN,A,192.168.1.10 (IP address in Record column, Priority left empty)
MX Record - example.com,@,14400,IN,MX,mail.example.com,10 (Mail server in Record column, Priority in column 7)
CAA Record - example.com,@,14400,IN,CAA,0 issue "letsencrypt.org" (Record column contains flag, tag, value - space separated)
SRV Record - example.com,_sip._tcp,14400,IN,SRV,10 60 5060 sipserver.example.com (Record column contains Priority, Weight, Port, Target - space sepated)
AFSDB Record - example.com,@,14400,IN,AFSDB,1 afsdb.example.com (Record column contains subtype and hostname - space separated)
HINFO Record - example.com,@,14400,IN,HINFO,"Intel-CPU" "Linux-OS" (Record column contains CPU and hostname/system info - space separated)
RP Record - example.com,@,14400,IN,RP,admin.example.com. info.example.com (Record column contains mbox-dname and txt-name - space separated)
DS Record - example.com,@,14400,IN,DS,60485 8 2 49FD46E6C4B45C55D4AC (Record column contains key-tag, algorithm, digest-type, digest - space separated)
⚠️ Important:
Always use the correct column order.
If the CSV is formatted incorrectly, the import may fail or create wrong DNS entries.
Step 2: Login
Admin: Login to the Admin Panel.
End-user: Login to the End-user Panel.
Step 3: Navigate to DNS Import (Admin - Advancedns DNS setting, Enduser - DNS zone setting)
Select the file type you want to import (csv / raw - zone file)
Select the domain you want to manage. (Only for Raw - zone file)
Step 4: Upload the File
Browse and select the prepared file to Import DNS record - (CSV/ raw - zone file).
NOTE : For CSV
Treat first row as column headers (It will skip the header of the CSV - first row) - By default checked
Delete and Overwrite DNS file - (If checked then will overwrite the existing record with new record) - By default unchecked
How to Import DNS in Admin
Login to the Admin Panel.
Navigate to DNS Functions > Advanced DNS Settings
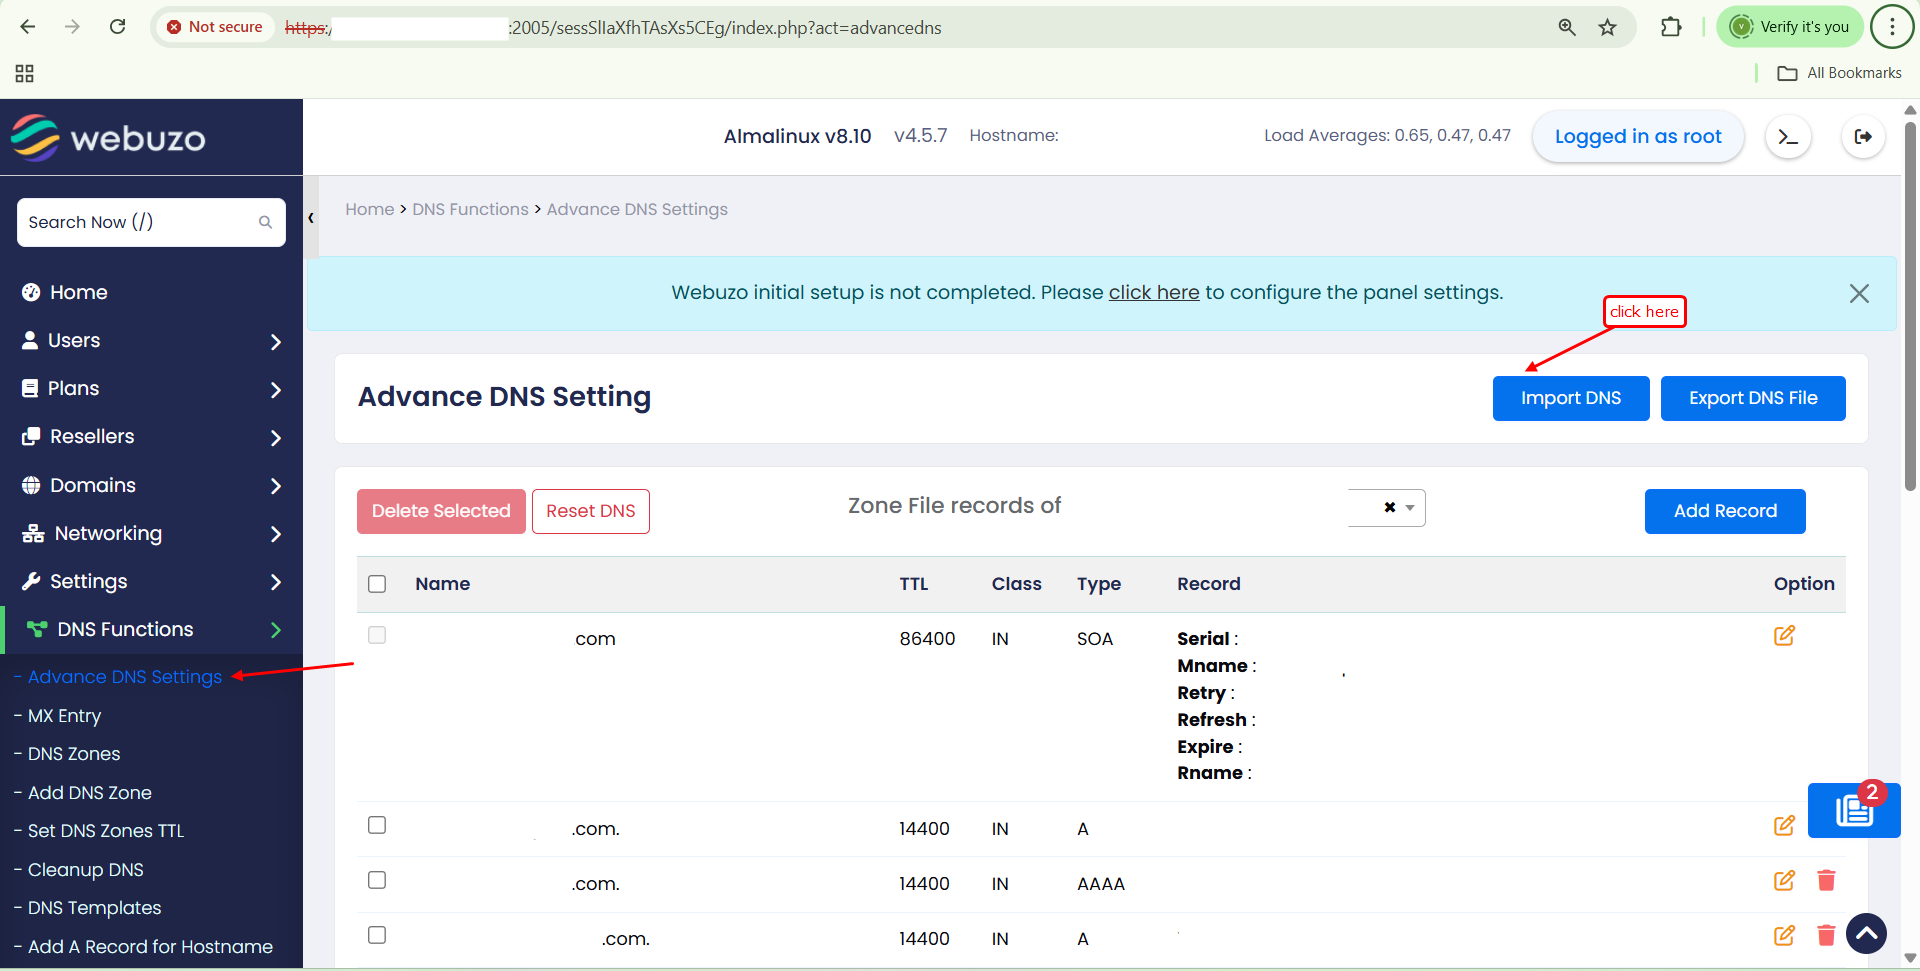
Select the target domain (for raw - zone file)
Upload the file. (raw - domain zone file /csv )
For CSV - Choose to skip the csv header or not (by default checked) and choose to overwrite or not DNS records (by default unchecked)
Click Import DNS


Check the task log for any error while import.
Verify the DNS zone to ensure records were successfully imported.
Import using the CLI - In Admin
For raw file type :
webuzo --import_dns --file_type=raw --admin=1 --domain=domain.com --file=domain.com.zoneFor csv file type :
webuzo --import_dns --file_type=csv --admin=1 --file=domain.com.csv --header=1 --overwrite=0How to Import DNS in Enduser
Login to the End-user Panel
Navigate to Domain > DNS Zone Setting

Select your domain from the dropdown. (Only for raw file type)
Upload the file (prepared CSV / raw - domain zone file)
For CSV - Choose to skip the csv header or not (by default checked) and choose to overwrite or not DNS records (by default unchecked)
Click Import DNS


⚠️ Note for End-users: Records like PTR, SOA, DNAME, NS, AFSDB, HINFO, RP, DS are restricted and cannot be added.